Pages

Thursday, March 31, 2011

Huge Westcott Giveaway

Did you miss this post?


Westcott-pinkline13We are giving away a huge prize worth $100 for just following the Charity Wings blog. That’s all you have to do.


But you better hurry because you only have until Thursday, March 31!

Tim Holtz Idea-ology Jewelry Tutorial

Hi!  Christine here.  I’m  sharing a tutorial from my own blog today.  I posted this earlier this week in conjunction with the Paper Maniac Inspiration blog for whom on the design team.  Links will take you to the Paper Maniac store.

******************

I love the new fashion of these drop charm necklaces and decided to make one with some Tim Holtz Idea-ology pieces.

completed neclace


Supply List

supply listI decided to use various items from the Tim Holtz Idea-ology line.

  1. Salvage Stickers—Crowded Attic—so many things to choose from in this beautiful book.
  2. Word Sticks—I love adding inspirational words to my projects.
  3. Facets—these are gorgeous and really give the piece a professional look.
  4. Type Charms—I just had to include my initial!
  5. Swivel Clasps—this item is what started the whole thing.  Ever since I first saw these clasps, I’ve wanted to make a piece of jewelry with them.
  6. Sprocket Gears—love these but the piece ended up without it.
  7. Word Keys—more words but on a beautiful key!
  8. Philosophy Tags—and even more words.

Items not pictured:

  1. Clear packing tape
  2. Ranger Matte Accents
  3. Paper piercing tool
  4. Other various jewelry supplies


Assemble Type Charm

type key 1The Type Charms come with all of the alphabet letters and a little adhesive bubble for each of the charms.

type key 2type key 3

 All you need to do is add your initial and then put the bubble on top of that.


Create Facets Charm

50s lady 1I chose this lovely 50s lady out of the Salvage Stickers—Crowded Attic booklet to use for my charm.  You can use any type of paper you would like to create your charm.

50s lady 2I wanted to add a little color so I colored her simply with my Copics.  This is where you need the packing tape.  This particular paper is a sticker.  Turn your paper over and apply a piece of packing tape to the back.  The packing tape will add some stability and strength to the charm.

50s lady 3Using Matte or Glossy Accents (I think Glossy Accents would be a better choice), apply some to the entire back side of the charm.  I did this on the reverse side of the Facets packaging so that I had the charm on something stable so I could move it out of the way into a safe place to dry.  For me, this is very important.  I’ve ruined more than one piece before it’s dry. 

50s lady 4I put this lovely lady aside to dry overnight.  Trim around the charm.  I used Tim Holtz Tonic Studios Scissors.  You will also need to pierce a hole in the top of the facet.  I took photos of these steps but when I checked my camera, they were gone.  Sometimes when the battery is low on my camera, the photos aren’t saved.


Assemble the Drop Charm

I took photos of this step as well but they went missing!

open neclaceI decided to add the items with color onto the Swivel Clasp so that I could change things up depending on the outfit.  I added the remaining pieces to the chain on the Swivel Clasp

When I make a drop charm I like to add it using an alligator clasp so I can attach it to any necklace I want.  This one contains silver, copper and gold so I will be able to use any antiqued color chain I would like.

completed neclaceSo, what do you think this necklace would cost at the department store?  Here’s a breakdown of what it cost me to make.

I had these supplies on hand.  The price of each is negligible.

  • Other various jewelry supplies
  • Clear packing tape
  • Ranger Matte Accents
  • Other various jewelry supplies

That’s a total of $3.28.  You definitely wouldn't be able to purchase it for that and this one is customized to my own artsy tastes.

I hope you enjoyed my tutorial.  Now go make some jewelry for yourself!!!

Blessings,

Christine 

Sunday, March 27, 2011

a Lil Wings Report by Juliana Johnson

Crop at Tiffany's


When we got there we had gifts waiting for us. There were scrapbooking supplies and fun things like crowns and pearl necklace coupons. While I was there I met Suzi Blu and she taught us how to use Faber Castel water color pencils, markers, and gelato chalks. They provided us with good food and snacks. Sheila and Elena did a great job at organizing the crop. I got to help with passing out gifts. I had a great time scrapbooking with my nana, my mom, and Liz Goldsberry.

Friday, March 25, 2011

A Cute Knitted Teddy Bear with Melissa Langer

Melissa Langer lives in Louisville, Colorado with her husband, Fred, her parrotlet, Gilbert and her pug, Emmitt.

Melissa loves to paint pugs and other dog breeds she lovingly calls Pug Pals.

Her joy in life is to share her art with others.

*************************

Now, Melissa’s tutorial taken from her blog!!!

*Please treat this tutorial as a jumping off point for your own creations and creativity. There is no right or wrong, just fun! Use your favorite techniques to create your own creatures and please share them with me! I would love to see and learn from you too. :)


Supply List:
All you need is:

  • 4 double pointed knitting needles - (I used) US Size 5
  • a stitch marker
  • a yarn needle
  • US - Size G - crochet hook
  • scissors
  • polyfill (not shown)
  • Your favorite worsted weight yarn of any kind.

For this project, I used two Lion Brand Yarns knit together :

Fishermen's Wool in Oak Tweed and Sock-Ease in Lemon Drop.

Step 1: Cast on a total of 24 stitches (8 on each of your 3 dp needles).


Step 2: Knit around until your tube is approx 4" long.

Step 3: Bind off your knitting leaving a long tail to sew up the seam.

Step 4: Use the long tail to sew up one end of your tube with your yarn needle.


Step 5: Stuff your knit tube with polyfill and sew up the other side to create a small pillow.

* Note: To finish off all of your ends, just poke them through the bear so that it goes through the opposite side and clip the end of the yarn close to the bear so that it will pull into your project and disappear. The polyfill will keep the end safe inside and invisible. :)

Step 6: To form the neck: Use a long strand of yarn to run a gathering stitch about 1/3 down from the top. Pull strands to gather and tie a square knot to secure. Weave in ends.

Step 7: To form the ears: Pinch the top corners of the head and use a strand of yarn and your yarn needle to sew the pinched area into a ear like shape that you like on both corners of the head. Weave in ends.

Ta da! The head and ears are complete! :)

Step 8: To form the legs, do the exact same thing as in step 7 to form the ears, but gather a larger area. Weave in ends.

Step 9: Making the arms: Feel free to make the arms in any way you like to make little tubes about 1 1/8 inches long. I crochet mine and I will explain now how I do that...

(Make 2) - To form the arms: Make a slip knot leaving a 4 or 5" tail and Chain 2.

Using your G hook, Single Crochet 2 stitches into the second chain from hook. Then keep single crocheting in the stitch below the one you just worked in until you have a 1 1/8" long form as seen above.

End and leave a long tail.

You will use the tails on both ends of your arm for sewing into the body and forming the hand.

To form the hand: Thread the tail that you started your slip knot with and sew it in a few times into the top of the stitches to form a ball like shape at the end of the arm to make a hand.

Weave in end.

Attach the arm to the bear at shoulder distance with your remaining tail. Weave in end and repeat on the other side.

How exciting!

Your teddy bear form is complete!

Now we are ready to make his collar and embroider his face.

We are almost done!


Step 10: To make the collar: Grab a ball or scrap of your favorite yarn and finger crochet about 20 loops. The exact length will depend upon the width of the neck you created. Before you end it, just size it around your teddy bear to see if the ends meet. Tie a square knot and snip the ends.

Here is a picture of all the stages your bear will take!

Step 11: Embroider the face: Snip about 18 -20" of a worsted weight black yarn and thread your yarn needle.

I started at the nose and made 3 horizontal stitches. I then made a diagonal stitch from the nose to the mouth area and made one stitch to form the smile.

I then traveled up to the eye area and made one or two stitches on each side to form the eyes.

Weave in ends.

You are done! :)

You can see that each little bear and face has its own personality.

Have fun with this project and please feel free to contact me with any questions.

Remember, this is just a jumping off place for your own creations. I cannot wait to see what you make!

*************************

Now a little more about Melissa in her own words!

My pug and dog paintings embody the toothy grins and wagging tails that happily greet us throughout our lives.

I know I have succeeded when my artwork lights up the viewer's eye with a spark of recognition of an old friend.  Whether the connection is from childhood or current day, that kind of smile is always contagious.

My passion is working with acrylics on wood.  I love how the paint glides across the wood, often revealing a subtle natural grain of the surface below.

Capturing the spirit of each dog for people to deeply connect to and enjoy is the true focus of my efforts.

Check out Melissa’s websites at:

www.pugnotes.blogspot.com and www.pugnotes.com 

You’ve got to see her adorable pug paintings.  She also has many other dog breeds available!!

I hope you have fun with this tutorial!  It’s a great one, don’t you agree!!!

*************************

I hope you enjoyed this week’s tutorial.  I’ve got another great tutorial lined up for next week, so stay tuned!!!

Remember, if you have a tutorial that you would like us to feature, please click on the “Get Featured” tab above.

Blessings,

Christine

Sunday, March 20, 2011

Sparkle and Shine in San Marcos


Last Saturday a small group of croppers got together for a 15 hour crop to benefit the San Marcos Boys and Girls Club. The theme for the day was Crop at Tiffany's, most of the participants arrived wearing their version of a little black dress, waiting for them on their tables were tiny tiara's and strings of tiny pearl like beads as their name tag!

We raised in total just a little over $4,300.00 and it's still climbing! We are currently selling raffle tickets for a beautiful White and Black Pearl Necklace.
Visit www.charitywings.org for a chance at the $550.00 necklace. Tickets are selling 1 for $5.00 and 6 tickets for $20.00. The net proceeds will benefit the San Marcos Boys and Girls Club. We'll pull the lucky winner of the Pearl Necklace on March 31st.


Winning Queen Sweets for the day was Jennifer Tsang...not a huge surprise, it was her 3rd year in a row. Jennifer always just goes that extra step. This time she made macaroons in the colors you would find at Tiffany's and tasted like a box of carmel corn found in Cracker Jacks. There was a full story to go along with the treats! I love that she takes the challenge and goes to the extreme with her treats.

Adding to our buffet of sweets were these cute little Cake Pops, Christine Arakarwa brought and a fun little tasting selection brought my Laura Miller of Dove Chocolates!

Thank you to the wonderful ladies that joined us for the day and to Suzi Blu for a great make and take! We just love Suzi and it's always a party when she comes to play!

Friday, March 18, 2011

Chipboard Border Trim Tutorial

Today's tutorial comes from a very talented reader from the "land down under" - 
Australia!

Nancy Winter wrote about how she first learned of Charity Wings and how we "almost" got the chance to meet her!


I was first introduced to Charity Wings or Scrapbook Royalty as it was when I first came into contact with them, when we travelled to America a few years ago.  They were hosting the most fabulous class that I had ever seen.  I am fairly sure I saw the advertisement  in one of their stores websites, (so sorry but I can not remember the name, but it may have been Scrappin in the Hills or Ever After Scrapbooking)  but I was SO disappointed that I would have to miss out due to our travel dates not being in synchronisation with it. 

The sheer "Princess Like" qualities the organisation dazzled me (like the true magpie that I am)(this is an Australian bird that loves glittery things for their nests, if you didn't know).  All the bling and "Royalty" of it completely mesmerized me and still does.

Doesn't she sound great?!  I sure hope we get the chance to have Nancy back in the states again so we can all meet her!


The tutorial she is sharing with us is a beautiful chipboard border trim posted on her very pretty blog:


The Dusty AtticTreasure Box Tutorial


 Dusty Attic Fancy Trim #3 DA0469
Jo Sonja’s Titanium White Paint

Step 1.
Measure the required border and cut from scrap paper.


Step 2.
Place the Decorative Trim around the edges of the paper with double sided tape.

Step 3.
Cut into the corners.  Remove excess and align the corners.

Step 4.
Using a make up sponge to squeeze the paint into the inner parts of the chipboard, gives exceptional coverage without the paint becoming blobby as the sponge soaks up the excess paint, giving a perfect coverage every time.  Depending on the depth of colour that you are going for, this method may be applied many times to get the desired result.


Sunday, March 6, 2011

follow our blog!! win from Westcott!

Please follow our all new blog! We will be giving away a Westcott Brands prize pack worth $100!!  Drawing to be held on March 18th!!!

Friday, March 4, 2011

Blog Feature: Bubblegum Life

As promised, our goal is introduce you to some amazing designers, avid crafters, talented folks through this blog.  The introduction will hopefully always include an example of one of their great projects and/or a video tutorial.  Today's blogger feature is the incredibly cute blog of Carrie Elias and Gloria King called Our Bubblegum Life.  They've been so kind as to let us borrow their latest post for you all!  Check them out!

~~~~~~~~~~~~~~~~~~~~~~~~~~~~~~~~~~~~~~
COPIED FROM THE "OUR BUBBLEGUM LIFE" BLOG from Thursday March 3, 2011

Thanks for stopping by to see our projects today!  I loved the photos from our last photo prompt so much, that I decided to use some of my favorite scrapbooks papers to create a 12x12 layout.....

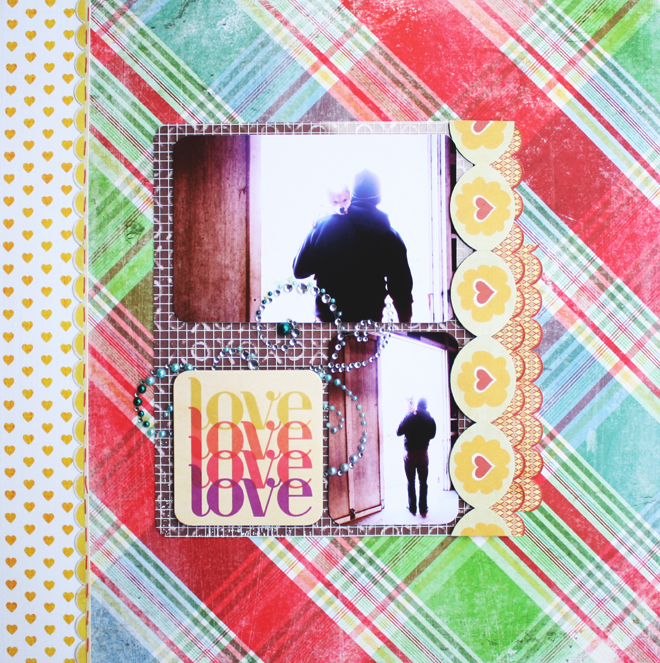
Ryan & Ponyo *LOVE*

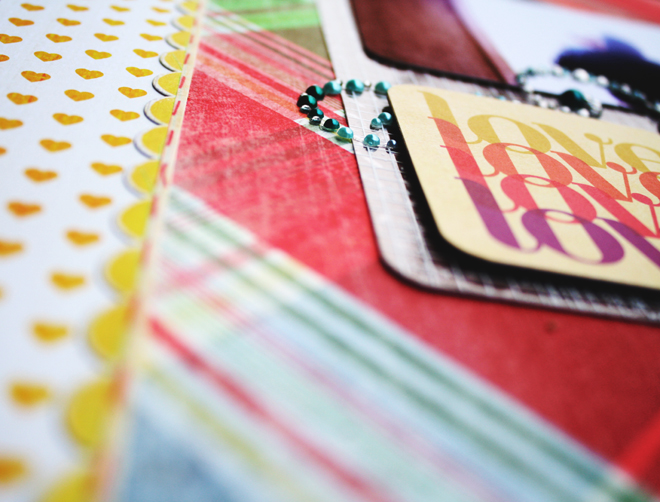
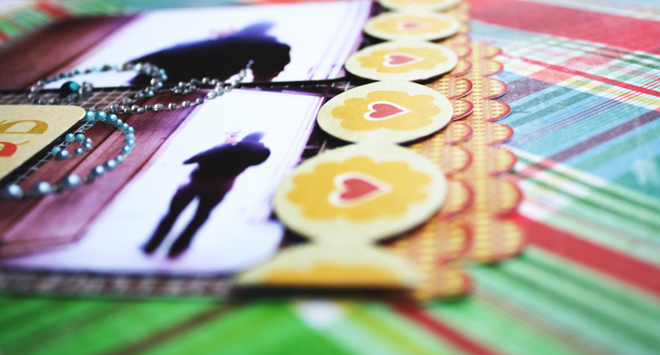
When I went to make my layout, I really liked how clean the lines looked before I adhered everything together so this ended up being the first layout I've done without sewing in I don't know how long : )  To take advantage of this I mounted my photo onto chipboard so they would have a little bit of lift.  And to add even more depth, there are pop-up foamies under the heart border on the right and also the square love journaler.....

Ryan & Ponyo *LOVE* (details left)

Ryan & Ponyo *LOVE* (details right)

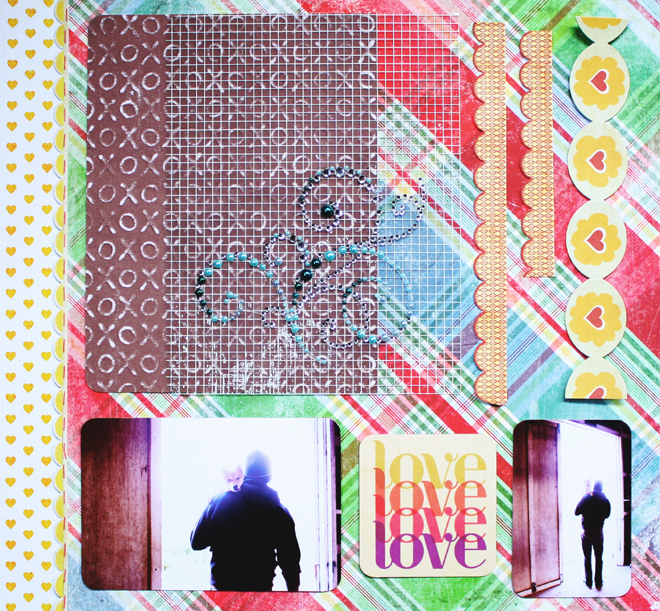
.....So pretty much this layout is most of the items below all layered together in the center of my paper.  And here are all the individual pieces I used (the Hambly Overlay and Prima Pearls are from the lovely Color Me Miki shop).....

Ryan & Ponyo *LOVE* (pieces)

This layout ended up being so special to me, that it is now displayed in my living room safely encased (and protected from the doggies) in a black 12x12 photo box : )

I hope you get a chance to make something you love sometime soon <3


And here's Nely's project using the current Pink Ninja Addicts monthly kit named Redemption Song.....


happy project monday!!, when making a layout for this picture, I knew I wanted neutral colors with a pop of color!  All the perfect papers and trims were in the march kit *redemption song* from Pink Ninja Addicts!  I love how the turquoise paper "pops" in the background, and it has a hint a brown to blend in with the background.  It came out simple, but perfect for me!!  hope you have a happy creative day!!